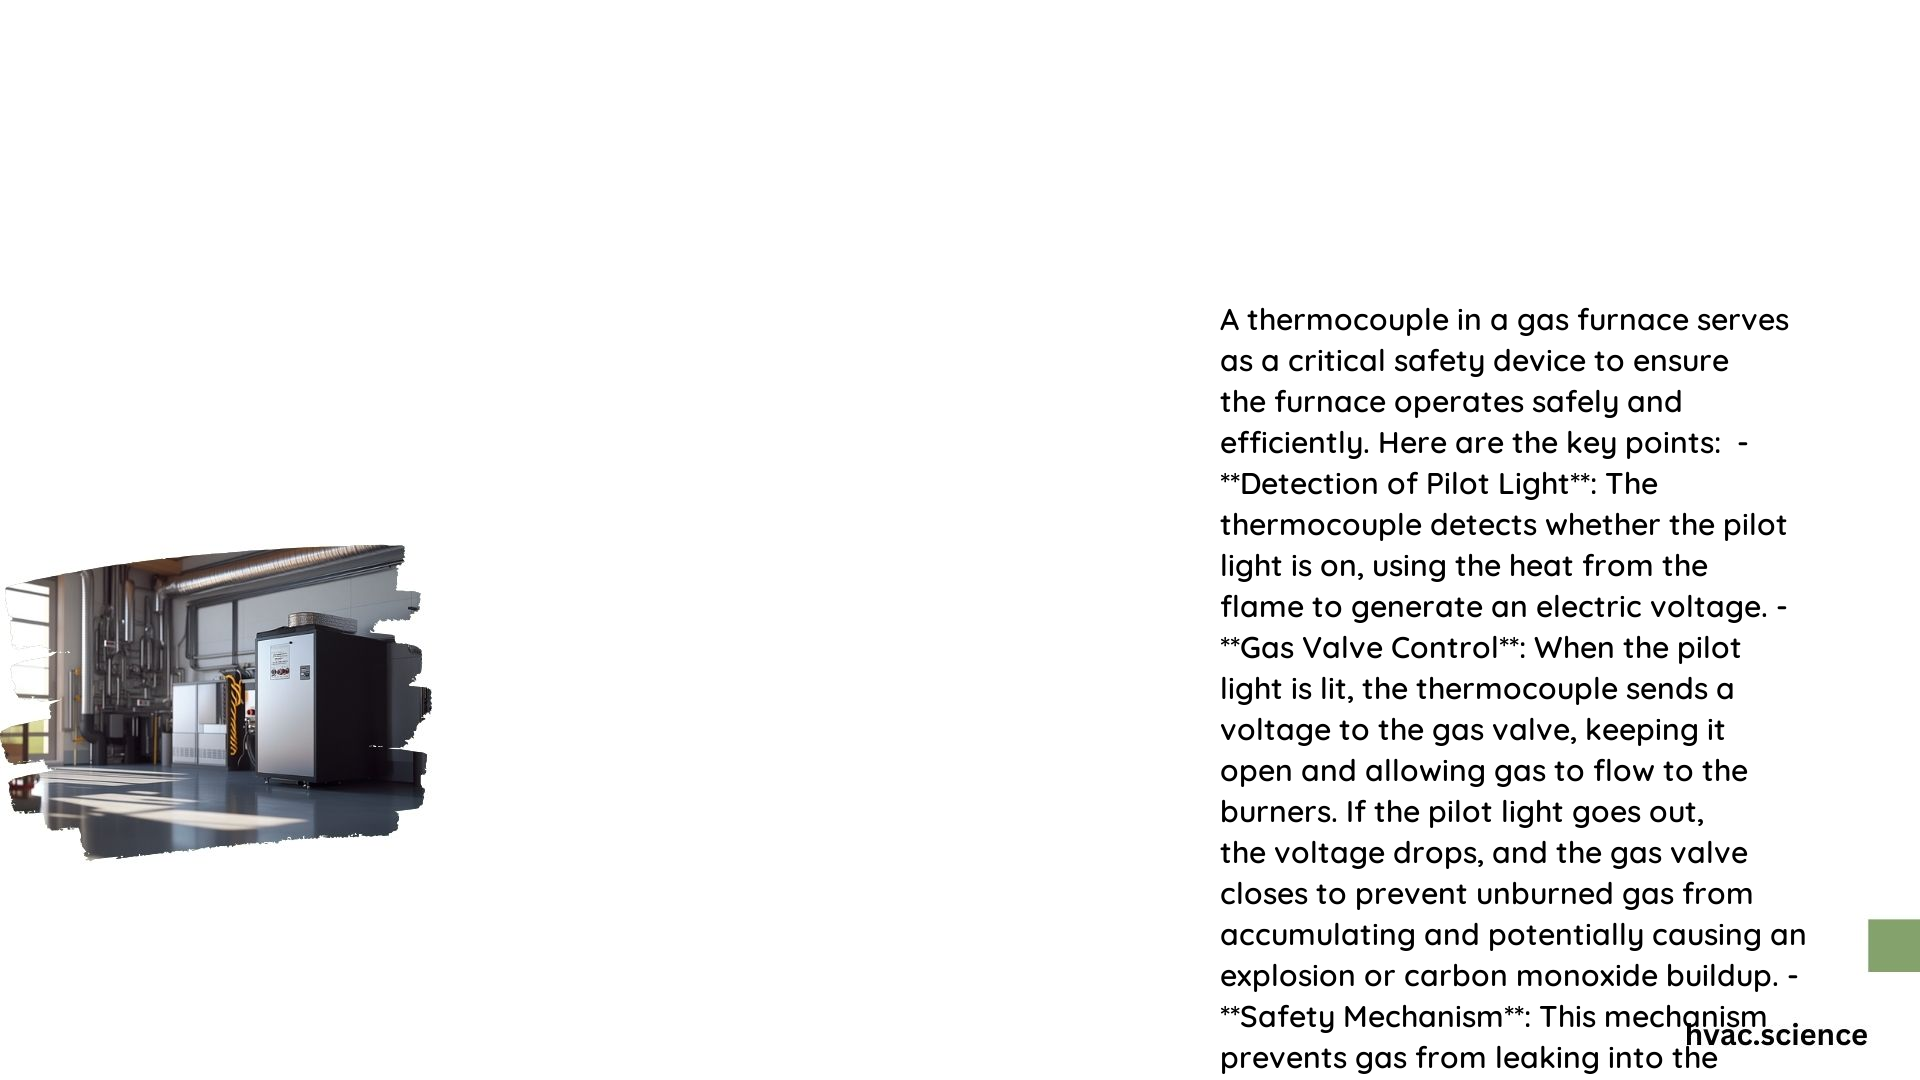
You’re staring at your furnace. It’s freezing outside, and the house is getting colder by the minute. You hear the click of the thermostat, but the burners just won't kick on. Honestly, it’s probably that tiny, copper-colored rod sitting right by the pilot light. That’s your thermocouple. It's a simple safety device, but it's the gatekeeper of your home's warmth.
Basically, the thermocouple detects heat. If the pilot light goes out, the thermocouple cools down, sends a tiny voltage signal to the gas valve, and tells it to shut everything off so your house doesn't fill with raw gas. It's a brilliant piece of engineering, really. But they fail. A lot. Constant heat exposure eventually wears them down, and you're left with a furnace that refuses to cooperate. Installing a thermocouple in a gas furnace isn't rocket science, but if you skip the small details, you’ll be doing it again in three weeks.
The stuff you actually need to know before starting
Don't just run to the hardware store and grab the first one you see. Most standing pilot furnaces use a universal 30-millivolt thermocouple, but length matters. If you buy a 24-inch lead and you actually need 36 inches to reach the gas valve, you're going back to the store. Measuring is your friend.
Safety is non-negotiable here. You've gotta shut off the gas. Find that yellow or red handle on the pipe leading to the furnace and turn it perpendicular to the pipe. If you smell eggs—that's the mercaptan added to natural gas—get out. No jokes. No "let me just finish this." Just leave. Assuming the air is clear, shut off the power at the breaker too. Even though a thermocouple generates its own millivoltage through the Seebeck effect (the conversion of heat differentials into electricity), there are still 120-volt wires nearby that can ruin your afternoon.
Stripping things down to get to the burner
Accessing the assembly is usually the part that makes people nervous. You'll likely need to remove the burner cover plate. It's usually just two or four screws. Keep a magnetic tray or a cup nearby. Those screws have a magical ability to vanish into the floor cracks.
Once the door is off, look for the pilot assembly. It's that small bracket where the pilot flame lives. You’ll see a thin copper tube (the pilot gas line) and a slightly thicker copper wire. That's your target.
Removing the old thermocouple
Start at the gas valve. There is a small nut where the thermocouple lead screws into the side or bottom of the valve body. Use a small adjustable wrench or an 11mm open-ended wrench. Be gentle. These are soft metals.
- Loosen the nut at the gas valve until the lead pulls out freely.
- Follow that wire back to the pilot burner bracket.
- Most thermocouples are held in the bracket by a friction fit or a small nut on the underside.
- If it's a clip-style, just pull it down firmly. If it’s threaded, unscrew the bottom nut.
Usually, the old one is covered in soot or looks "burnt." That’s carbon buildup. Sometimes you can actually fix a "broken" thermocouple just by rubbing the tip with some steel wool, but honestly, for the ten or fifteen bucks they cost, you might as well just put in a fresh one.
Installing a thermocouple in a gas furnace the right way
Now for the "new" part. Take your new thermocouple out of the package. Be careful not to kink the copper lead. Kinks create weak spots and can mess with the internal wire.
Slide the new tip into the pilot bracket. You want the top 1/2 to 3/4 inch of the tip to be sitting right in the path of where the pilot flame will be. If it’s too high, it’ll burn out too fast. Too low, and it won't get hot enough to signal the valve to stay open. It’s a bit like Goldilocks. It has to be just right.
Routing and connecting
Thread the lead back to the gas valve. Try to follow the same path the old one took.
When you get to the valve, hand-thread the nut first. This is huge. If you cross-thread the gas valve, you are looking at a $300 to $500 repair because you'll have to replace the whole valve assembly. Spin it in by hand until it’s finger-tight. Then, give it a 1/4 turn with your wrench. It doesn't need to be torqued like a lug nut on a truck. It just needs to make a solid electrical connection.
The "Hidden" Step: Checking the Pilot Flame
You've got the new part in. You've tightened the nuts. Don't put the cover back on yet. Turn the gas back on and flip the power switch. If you have an electronic ignition furnace (no standing pilot), the process is different, but for a standard pilot furnace, you need to light that flame.
Turn the gas valve knob to "Pilot," push it down, and hold a long lighter to the pilot burner. Once it lights, keep holding that knob down for about 60 seconds. This gives the new thermocouple time to get hot and generate that millivoltage signal.
- Does the flame look blue? Good.
- Is it yellow and lazy? Bad.
- Is it engulfing the top of the thermocouple? Perfect.
If the flame is weak, your pilot orifice might be clogged. A lot of people blame the thermocouple when the real culprit is a tiny piece of dust in the pilot tube. You can usually clear it with a blast of compressed air or a very thin needle.
Nuance and common headaches
I’ve seen plenty of DIY jobs fail because the lead was touching the hot burner tubes. Copper is a great conductor, but the insulation inside that lead can only take so much. Make sure the lead is tucked away from the main burner path.
Also, consider the "Limit Switch." If you replace the thermocouple and the pilot stays lit, but the furnace still won't blow hot air, your problem might be the high-limit switch or the flame sensor (if you have a newer SISI system). A thermocouple is specifically for holding the pilot flame. If your furnace starts and then shuts off after 30 seconds, that's almost always a dirty flame sensor, not the thermocouple. Know the difference.
Real-world troubleshooting tips
Sometimes, even with a brand-new part, the pilot won't stay lit.
Check the connection at the valve. If there is any dirt or corrosion inside the female port of the gas valve, the tiny electrical current won't pass through. I’ve fixed "broken" furnaces just by cleaning that contact point with a pencil eraser.
Check for drafts. If your furnace is in a laundry room or near a drafty door, a gust of air can blow the pilot out. It’s not a part failure; it’s an environmental one.
Maintenance beyond the swap
Once you're up and running, don't just forget about it. Vacuum out the burner compartment. Dust is the enemy of gas appliances. If you see white powdery buildup on your thermocouple after a few months, your furnace might be "rolling back" or not venting properly. That’s a bigger issue that needs a pro with a manometer to check gas pressure.
Your next steps for a warm house
You've successfully finished installing a thermocouple in a gas furnace. Now, watch it through three full cycles. Make sure the burners ignite smoothly and the pilot doesn't flicker out when the main blower kicks on.
- Keep the old thermocouple lead in your "parts drawer" for a day just in case the new one is a rare "dead on arrival" part.
- Label the date of replacement on the inside of the furnace cabinet with a Sharpie. They usually last 3–5 years.
- Schedule a professional combustion analysis if you haven't had one in over two years. A new thermocouple fixes the symptom, but it doesn't tell you if your heat exchanger is cracked or if your gas-to-air ratio is dangerous.
The peace of mind knowing the safety system is working is worth the hour of work you just put in. Clean up your tools, put the door back on, and go enjoy the heat.