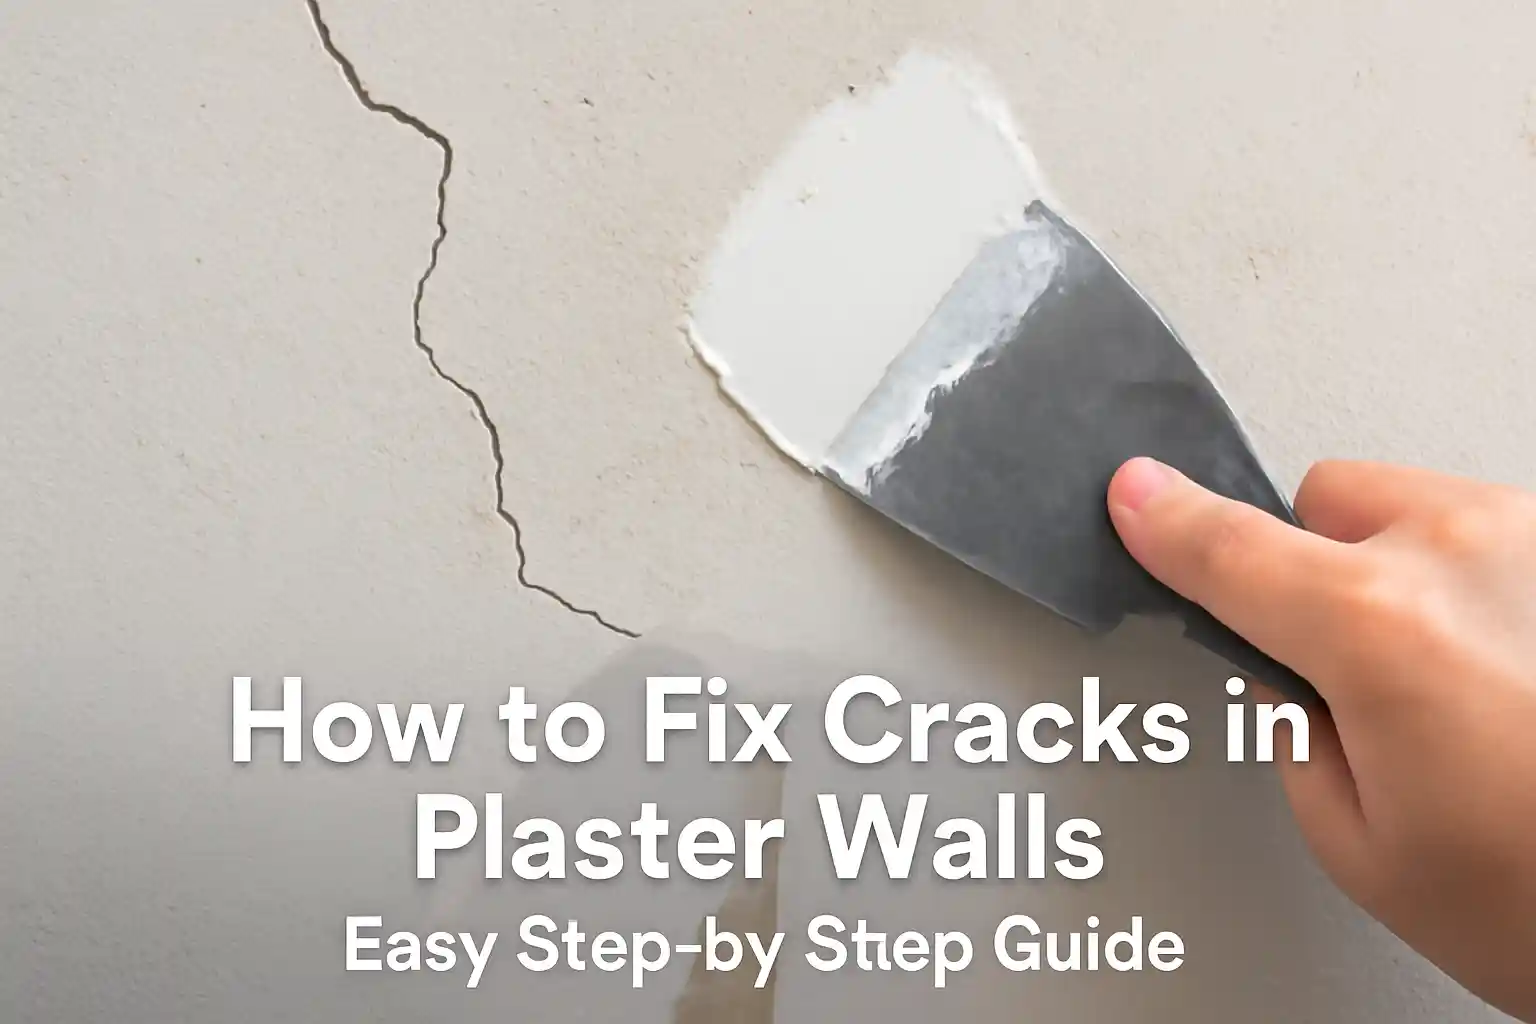
If you live in an old house, you know the sound. It’s that tiny, sharp crick in the middle of a silent night. You wake up the next morning, look at the ceiling, and there it is—a jagged little lightning bolt running across your beautiful lath and plaster. It’s annoying. Honestly, it's a bit heartbreaking if you’ve spent years meticulously restoring a Victorian or a Craftsman. But before you start panic-searching for a drywall contractor who’s going to charge you $800 just to show up, take a breath. You can fix a plaster wall crack yourself, and if you do it the right way, it won't come back in six months.
Most people mess this up. They see a crack, they grab a tub of lightweight spackle from the hardware store, smear it on with a putty knife, and call it a day. That is a mistake. Plaster isn't drywall. It’s a living, breathing, heavy material that’s held onto your wall by "keys"—bits of plaster that have oozed through wooden slats (lath) and hardened. When the house shifts or the wood expands with humidity, those keys can snap. If you just fill the surface, the crack will just open right back up as soon as the house sneezes.
Why plaster cracks in the first place
Houses move. It’s what they do. Foundations settle, and seasonal humidity changes make wood lath swell and shrink like a lung. According to restoration experts like John Leeke, who has spent decades documenting historic home maintenance, the rigidity of plaster is its greatest strength and its biggest weakness. It doesn't flex. When the underlying structure moves, the plaster has to give somewhere.
Sometimes it’s just a "hairline" crack. These are usually just in the finish coat. But if you can stick a fingernail into it, or if the wall feels "spongy" when you press near the crack, you’ve got a structural separation. The plaster has pulled away from the lath. If you don't re-attach it, no amount of mud is going to save it. You’re basically just putting a Band-Aid on a broken leg.
Identifying the "V"
To actually fix a plaster wall crack, you have to make it worse before it gets better. This is the part that scares DIYers. You need to take a triangular scraper or a sturdy utility knife and "V-out" the crack. You’re widening it. You want to create a channel that is wider at the base than at the surface, or at least wide enough to shove some actual bonding agent and setting compound inside. If you just skim over the top, the new material has nothing to grip. It’ll just flake off like dry skin.
The gear you actually need (and the stuff you don't)
Don't buy the "pink to white" spackle. Just don't. It’s too soft. It shrinks.
You need setting-type compound, often called "hot mud" because it creates a chemical reaction that generates heat as it hardens. Look for brands like USG Sheetrock Brand Durabond. It comes in bags with numbers like 45 or 90, which represents the number of minutes you have before it turns into a rock. If you’re new to this, get the 90. You’ll need the time.
You also need:
- A plaster washer (if the wall is sagging).
- High-quality fiberglass mesh tape (alkali-resistant is best).
- A spray bottle with water.
- A 6-inch and a 10-inch taping knife.
- A vacuum with a HEPA filter (plaster dust is brutal).
The secret of the plaster washer
If the plaster is loose, you need plaster washers. These are little galvanized steel disks with holes in them. You screw them through the plaster and into the wood lath. They pull the plaster back tight against the structure. Big Foot or Charles Street Supply make the ones most pros use. Space them about 2 inches from the crack on both sides. Once they’re tightened down, the plaster stops moving. You then cover these washers with your compound later. It’s the only way to ensure a permanent fix on an old ceiling.
Step-by-step: How to fix a plaster wall crack for good
Prep the wound. Dig out that crack. Get rid of any loose, crumbly bits. If you hit wood lath, good. Vacuum the dust out of the crack. If you leave dust in there, the new mud won't stick. It’ll just roll around like flour on a greased pan.
Hydration is everything. This is the step everyone misses. Old plaster is incredibly thirsty. If you put wet compound into a bone-dry plaster crack, the old plaster will suck the moisture out of the new mud instantly. The new mud will shrink, crack, and fail. Mist the crack with water from your spray bottle. It should be damp, not dripping.
The first coat. Mix your Durabond to a peanut butter consistency. Push it deep into the V-groove. You want it to go all the way back. Don't worry about making it pretty yet. Just get it in there.
Tape it up. While the mud is still wet, lay your fiberglass mesh tape over the crack. Use your 6-inch knife to pressed it in. Fiberglass is better than paper here because it’s thinner and stronger for bridge-work.
The "Feathering" dance. Once the first coat is hard—and I mean hard, not just dry—apply a second coat. Use your 10-inch knife this time. The goal is to "feather" the edges. You’re trying to trick the eye. You want to spread the compound out about 6 to 8 inches on either side of the crack. If you do it right, the "hump" is so gradual that when you paint it, the light doesn't catch it.
Sand, but don't overdo it. If you used Durabond (the brown bag), be warned: that stuff sands like concrete. It’s tough. Use a 120-grit sanding sponge. If you used the Easy Sand version (the white bag), it’ll be much friendlier to your elbows.
Dealing with the "Map Cracking"
Sometimes you don't have one big crack; you have a million tiny ones that look like a map of London. This is often "crazing." It happens when the original finish coat was applied too thin or dried too fast a hundred years ago. You can’t V-out a thousand tiny cracks. In this case, your best bet is a product like Wally’s Plaster Reinforcement System or even a heavy-duty "bridge" paint. Or, honestly? Just skim coat the whole wall. It’s a pain, but it’s the only way to get a glass-smooth finish again.
Why your repair might fail (and how to avoid it)
If you follow these steps and the crack reappears in a week, you have a foundation problem. Or a leak. Plaster is basically a giant moisture sensor. If there’s a slow leak in the roof, the wood lath will swell, and no amount of fiberglass tape will hold that wall together. Always check for dampness.
Another reason for failure? Using premixed joint compound in the tub. That stuff is fine for small nail holes, but for a structural fix a plaster wall crack job, it’s too weak. It dries by evaporation, which means it shrinks. Shrinkage equals new cracks. Stick to the bagged setting-type stuff. It’s a chemical cure, meaning it stays the same volume from wet to dry.
The nuance of historic lime plaster
If you’re working on a house built before 1880, you might be dealing with lime plaster rather than gypsum. Lime is even softer and more flexible. It’s also caustic. If you’re truly a purist, you can buy traditional lime putty from places like Limeworks.us. Using modern gypsum on old lime can sometimes cause compatibility issues because the gypsum is much harder than the lime. For most 20th-century homes, though, the standard Durabond method is the gold standard.
Final Actionable Steps
- Go buy the right mud. Get a bag of USG Durabond 90. Avoid the pre-mixed tubs for anything larger than a thumbtack hole.
- Invest in a good scraper. A "5-in-1" tool is your best friend for widening cracks and scraping off old paint.
- Check for movement. Push on the wall. If it moves, buy a box of plaster washers and 1-5/8 inch drywall screws.
- Prime before you paint. Plaster and patch compounds have different porosity than the rest of your wall. If you don't use a high-quality primer (like Zinsser Gardz), the patch will "flash" through the paint, and you'll see a dull spot exactly where you worked so hard to fix the crack.
- Clean your tools immediately. Once that setting compound hardens on your knife, it’s there forever. Keep a bucket of water nearby and rinse your tools every 20 minutes.
Fixing plaster isn't a race. It's about layers. If you rush the drying time or skip the wetting of the crack, you’ll be doing this all over again next spring. Do it once, do it right, and let the house settle back into its quiet, sturdy self.