You’re standing there. Your friend owes you twenty bucks for pizza. They pull out their iPhone, tap a few buttons, and suddenly your phone pings. That's the magic, right? But honestly, using Apple Pay to receive money isn't always as "plug and play" as Apple's marketing makes it seem. If you haven't set up the specific Apple Cash side of things, that money is basically floating in digital limbo. It's frustrating.
Most people think Apple Pay is just for tapping your phone at Starbucks. It isn't. When we talk about getting paid, we are actually talking about Apple Cash. This is a digital card that lives inside your Wallet app. It’s a partnership between Apple, Green Dot Bank, and Visa. If someone sends you cash via iMessage, it lands here.
Why your money might be stuck
Ever had someone say they sent you money but your balance didn't change? Yeah, it happens. Usually, it's because you haven't "accepted" the payment or your identity hasn't been verified yet. Apple is strict. Because they deal with banking regulations (specifically Anti-Money Laundering laws), they might freeze your ability to receive funds if you haven't uploaded a photo of your ID.
It’s a bit of a pain. You’re just trying to get dinner money, and suddenly you’re taking pictures of your driver's license in a dimly lit restaurant. But once that’s done, the flow is much smoother.
Setting Up Apple Pay to Receive Money the Right Way
First things first. You need to head into your Settings. Scroll down to "Wallet & Apple Pay." See that toggle for Apple Cash? Flip it on. If it's off, you can't receive a dime.
Once it’s on, the process is mostly invisible. When a friend sends you money through a text message, it should automatically move into your Apple Cash account. However, if you're new to this, you might see a "Pending" status. You actually have to tap "Accept" on that first transaction.
The iMessage trick
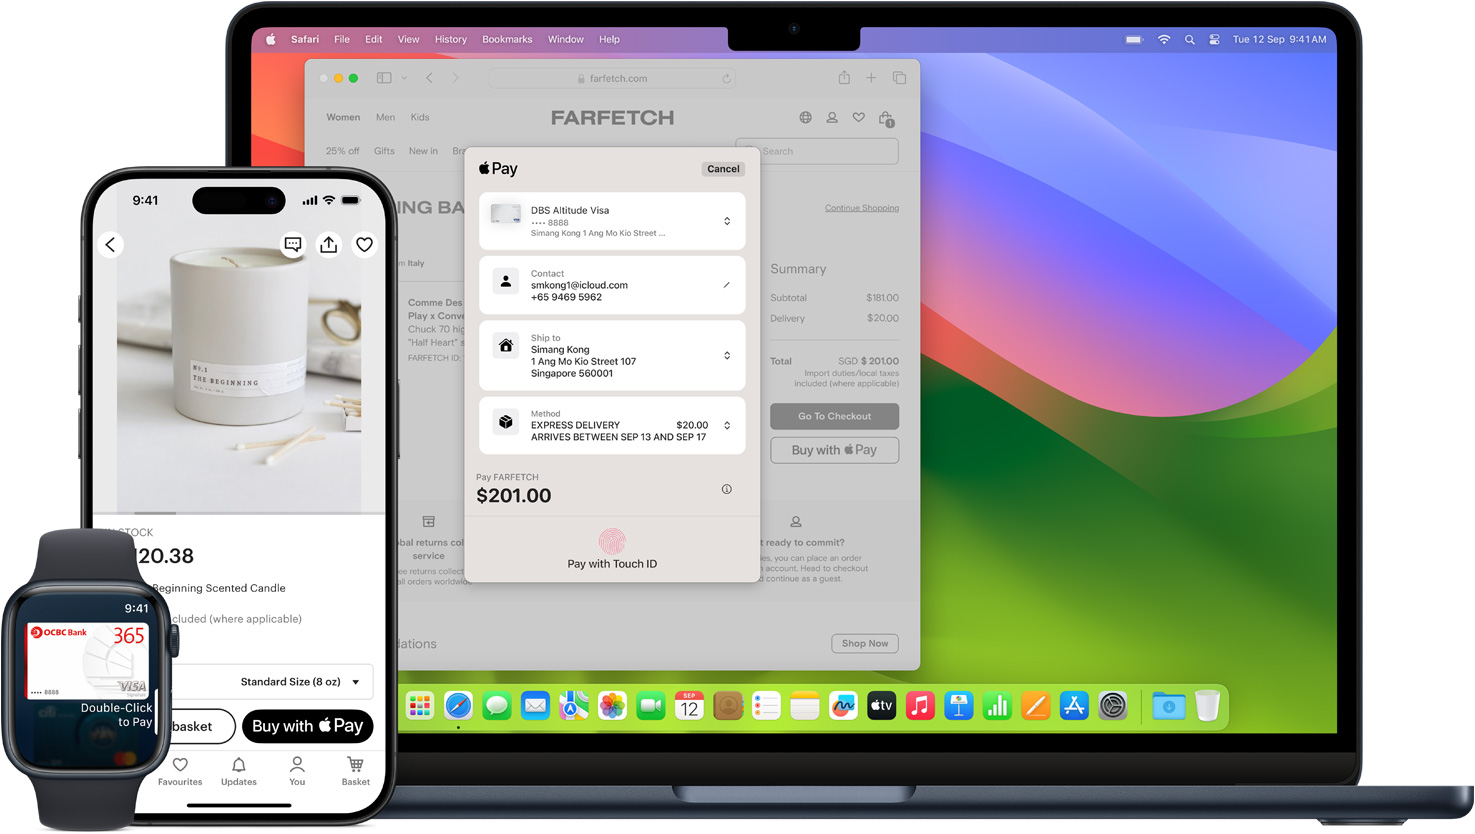
Most people use the iMessage app to handle this. You open a chat, tap the little Apple Pay icon (it’s the black logo with the white apple), and type the amount. But to receive it, you just stay passive. The money hits your Apple Cash card, which you can then use to buy things via Apple Pay at stores or send to someone else.
What if you want that money in your actual bank account? That’s where things get slightly more complex. You have two main choices:
- Instant Transfer: This costs money. Usually, a 1.5% fee (with a minimum and maximum cap). It hits your debit card in minutes.
- ACH Transfer: This is free. It takes 1 to 3 business days. You’ll need your routing and account numbers.
The "Green Dot" Factor and Limitations
It is worth noting that Apple doesn't actually hold your money. They aren't a bank. Green Dot Bank is the engine under the hood. This matters because if you have an issue with a transaction, Apple Support might eventually point you toward Green Dot.
There are limits, too. You can’t just receive $50,000 for a used car via Apple Cash. Generally, you can receive up to $10,000 per message and $10,000 within a 7-day period. For most of us, that's plenty. For a contractor or someone selling high-end gear, it’s a dealbreaker.
Security and Scams
Let's be real: peer-to-peer (P2P) payments are a playground for scammers. If a stranger asks to use Apple Pay to receive money from you for a "Facebook Marketplace" deal, be incredibly careful. Unlike a credit card, there isn't a "chargeback" button if the person disappears. Once that money moves from your Apple Cash to theirs, it is gone.
Apple uses FaceID and TouchID to keep things secure on your end, which is great. It's much harder for someone to pickpocket your phone and drain your account than it is with a physical wallet. But the human element—the "social engineering"—is still the weak point.
Comparing Apple Cash to Venmo and Zelle
Why use this instead of Venmo? Honestly, it’s just about the ecosystem. If everyone you know has an iPhone, it’s faster. No extra app to download. No separate social feed showing everyone that you paid "Brian" for "Rent 🍕." It’s private.
Zelle is different because it moves money directly between bank accounts. Apple Cash acts as a middleman. You receive the money, it sits on the digital card, and then you decide if it stays there or goes to your bank. Many people prefer keeping a "slush fund" of $50 or $100 in Apple Cash specifically for quick coffee runs or splitting tabs.
What happens if you lose your phone?
This is a common fear. If your iPhone goes missing, your Apple Cash isn't necessarily gone. Since it's tied to your Apple ID, you can use the "Find My" app to lock your device or erase it remotely. You can also log into your Apple ID account page on a browser and remove your cards from the device. Your balance stays safe in the cloud (and with Green Dot).
How to fix the "Payment Not Received" bug
Sometimes technology just fails. If you’re expecting money and it’s not showing up, check these three things immediately:
- Check your Apple ID: Are you signed into the same iCloud account on your phone that the sender used?
- Verify your age: You must be at least 18 to use Apple Cash in the US (there is a Family option for kids, but it has restricted features).
- Update your iOS: It sounds cliché, but Apple frequently pushes security patches that affect the Wallet app.
If the sender sees the money as "sent" but you see nothing, they might have sent it to an email address associated with your Apple ID that isn't "active" for iMessage. Have them check the transaction details in their own Wallet app to see exactly where it went.
The Business Side: Apple Pay for Merchants
If you're a small business owner, you might want to use Apple Pay to receive money from customers. This is slightly different. You can use "Tap to Pay on iPhone," which allows you to accept contactless payments directly on your device without extra hardware.
This isn't the same as a friend texting you $5. This involves a payment processor like Square, Stripe, or Clover. You'll pay merchant fees (usually around 2.6% + 10 cents), but it’s incredibly professional and convenient for customers who forgot their wallets.
Actionable Steps for Success
To make sure you can receive money without a hitch, do this right now:
- Verify your identity immediately. Don't wait until you're trying to move a large sum. Open the Wallet app, tap your Apple Cash card, tap the three dots (more icon), and look for "Verify Identity."
- Set up your bank account for free transfers. Add your routing and account number under "Card Details" so you aren't forced to pay the 1.5% "Instant Transfer" fee when you're in a rush.
- Enable Two-Factor Authentication. This is non-negotiable for financial security in the Apple ecosystem.
- Keep a small balance. It makes sending money back to friends much faster since it doesn't have to pull from your debit card every time.
- Check your "Accept Payments" setting. Inside the Apple Cash card settings, you can choose "Automatically Accept" or "Manually Accept." If you're worried about random people sending you money (or accidental transactions), keep it on manual. Most people find "Automatic" much more convenient.